Making HQ Single Flight Better

For questions about finch enclosures (cages & aviaries).
User avatar
Sally
Mod Extraordinaire
Mod Extraordinaire
Posts: 17929
Joined: Thu Mar 29, 2007 11:55 pm
Location: DFW, Texas

Making HQ Single Flight Better

Post by Sally » Sat Jul 19, 2008 12:49 am

I have made a few changes to my HQ single flights to make them work better for me. Some ideas I have gotten from other forum members, some are my own, but I thought it might help to have them gathered in one place. Some of them will be useful to others, some not.

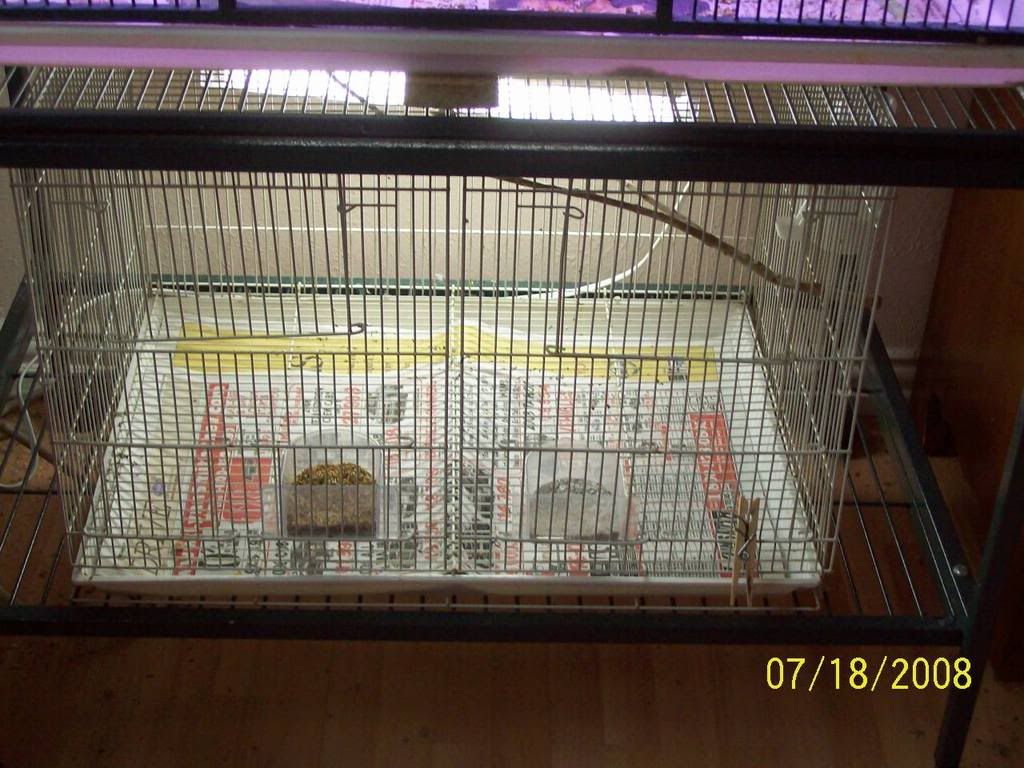
First off, I do not like to use the grates in cages to keep birds off the floor, or bottom tray. Many finches like to spend a lot of time on the ground, and I don’t feel the grates are comfortable for their feet (just a personal thought). I take the grate out, then slide the tray in the slots meant for the grate, and then slide the grate underneath the tray, on the bottom slots. It will be a tight fit for the tray, you may have to work it in. Sometimes, the tray will bow up in the back corners—just reach in the lower door and push the corners back down.

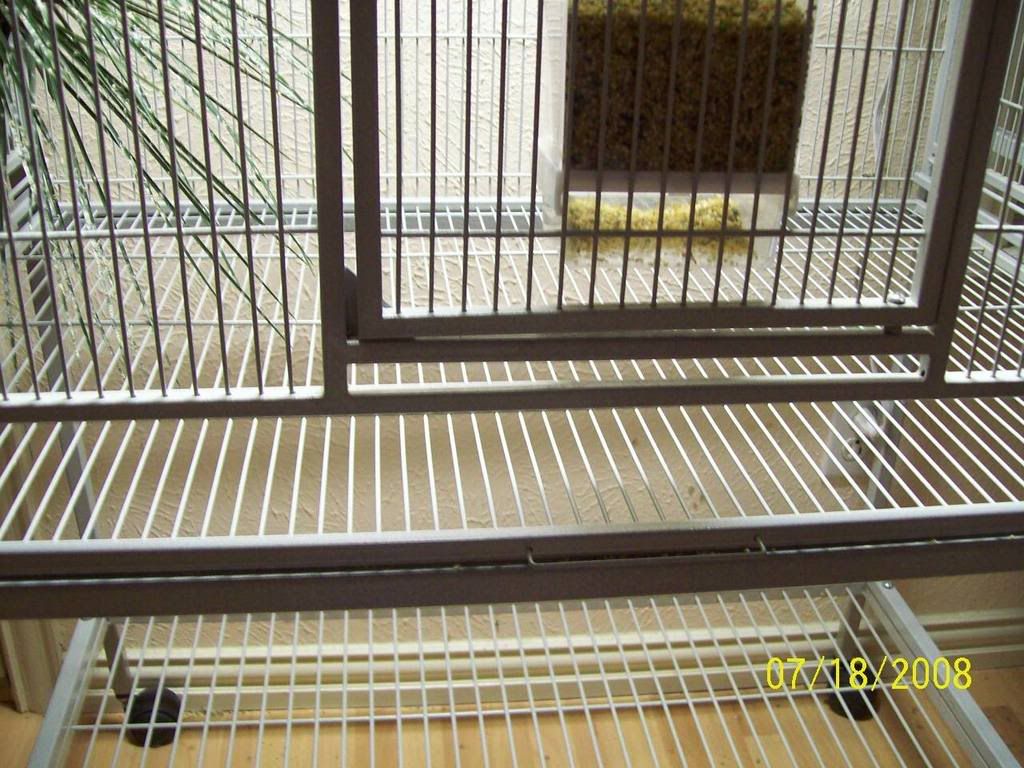
Normal position of grate and tray, with tray below grate.
Image
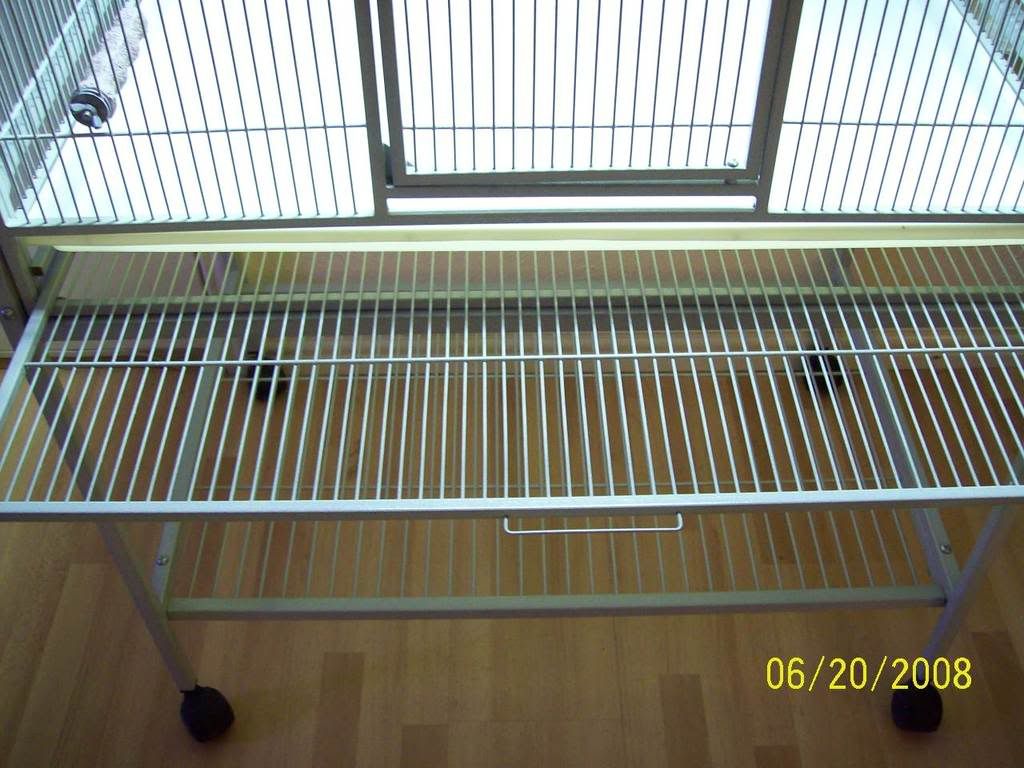
Grate and tray reversed, with grate below tray.
Image
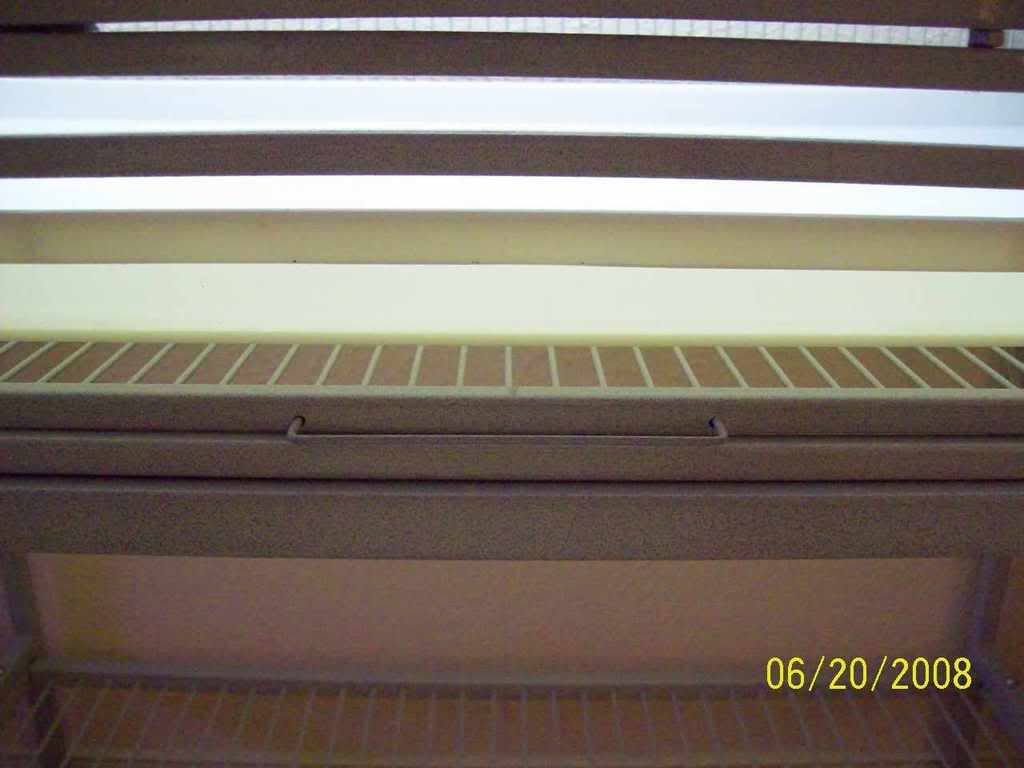
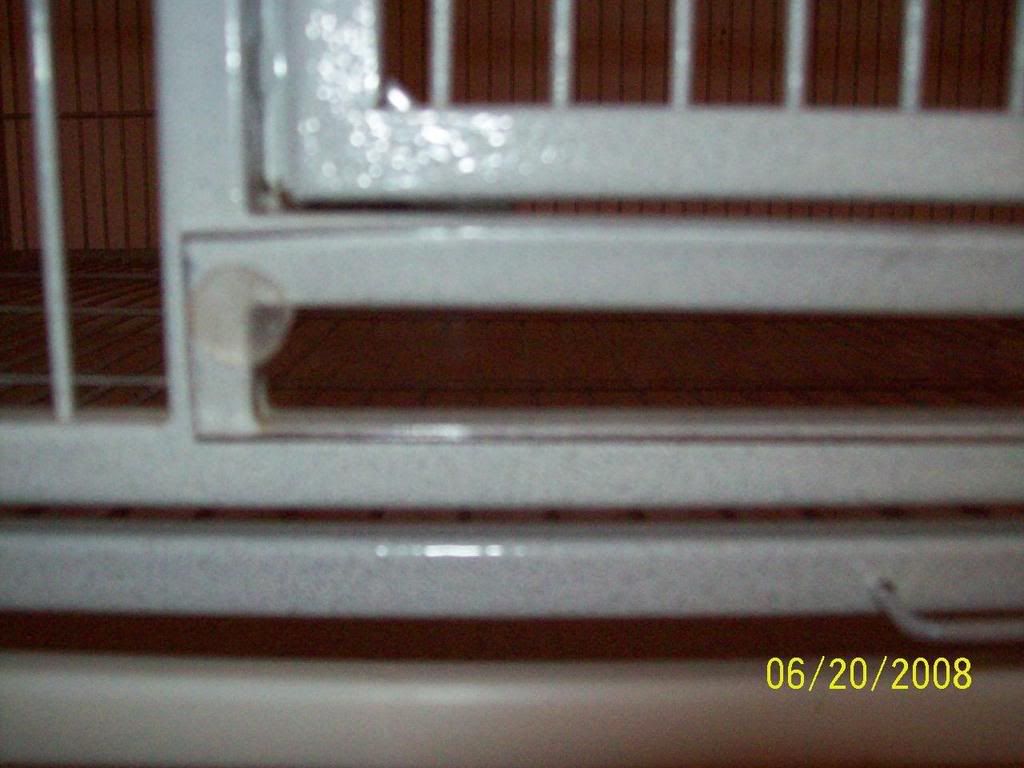
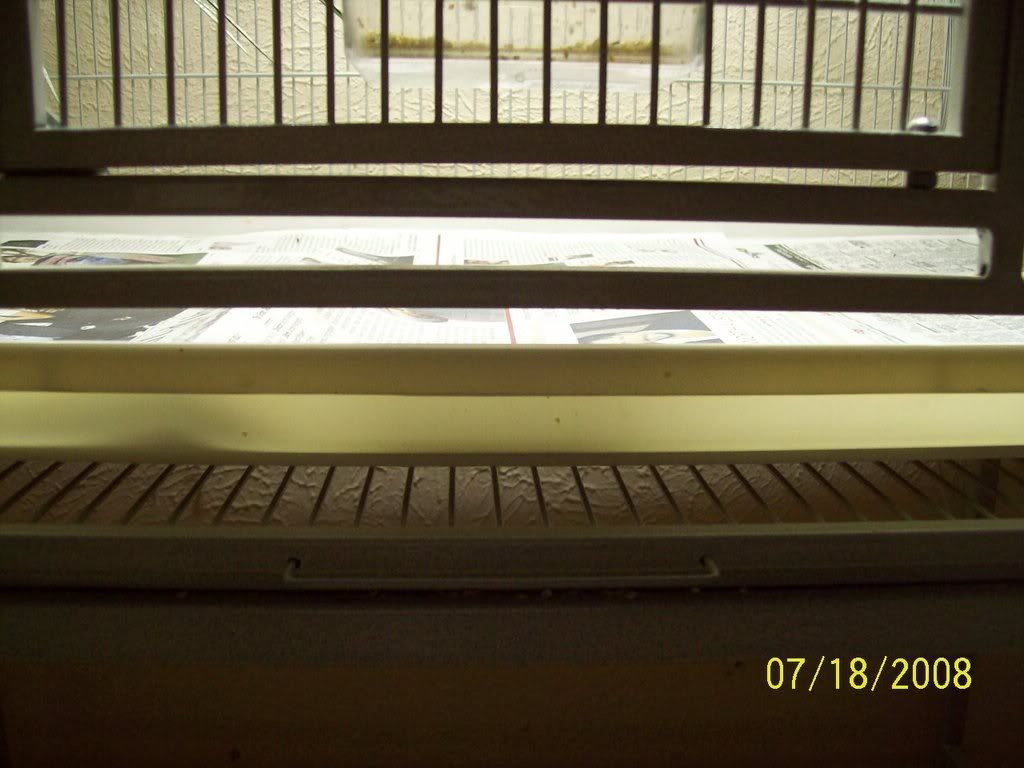
Photo of slots for grate/tray - tray slides on top narrow slot.
Image

When you pull the tray out to clean it, you will have a huge gap in front—you can slide the grate back in its proper place while cleaning. I just leave the gap while I’m working, I’ve never had a bird try to get out that gap, as they usually stay at the top of the cage during cleaning.
Image

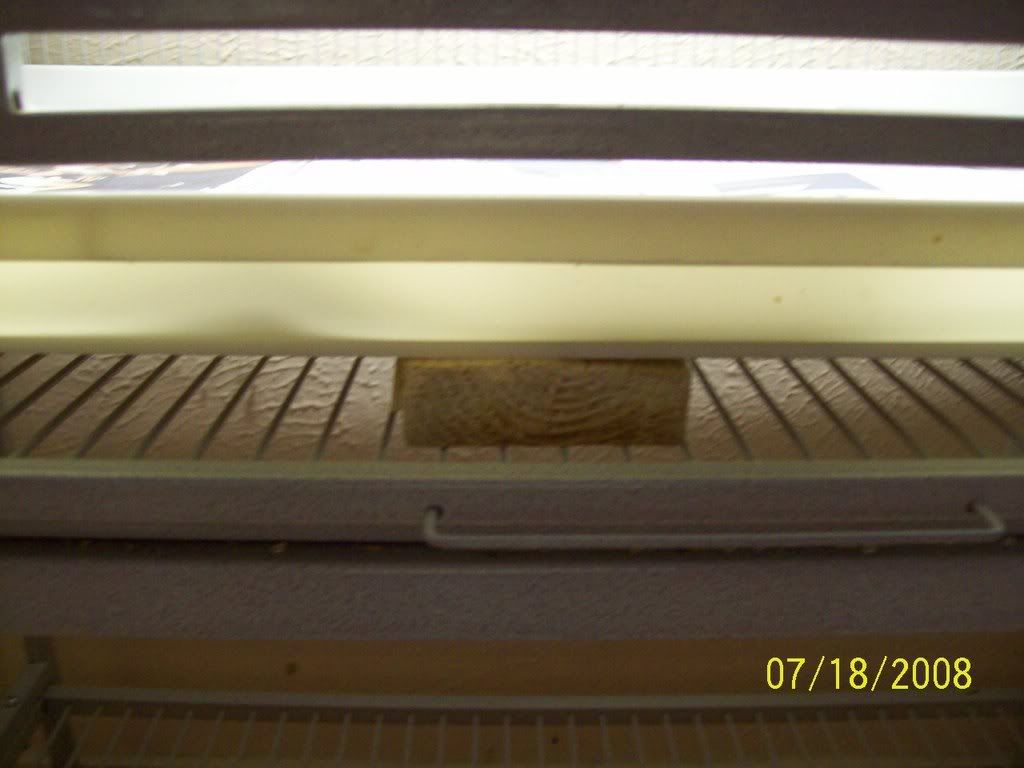
Sometimes, the tray will bow in front, leaving a gap large enough for a small finch to get out. I cut an 18” piece of 1”x4” lumber, then slide this piece under the tray, about midway. This gives the tray extra support and should eliminate most of that gap.
Image
Image

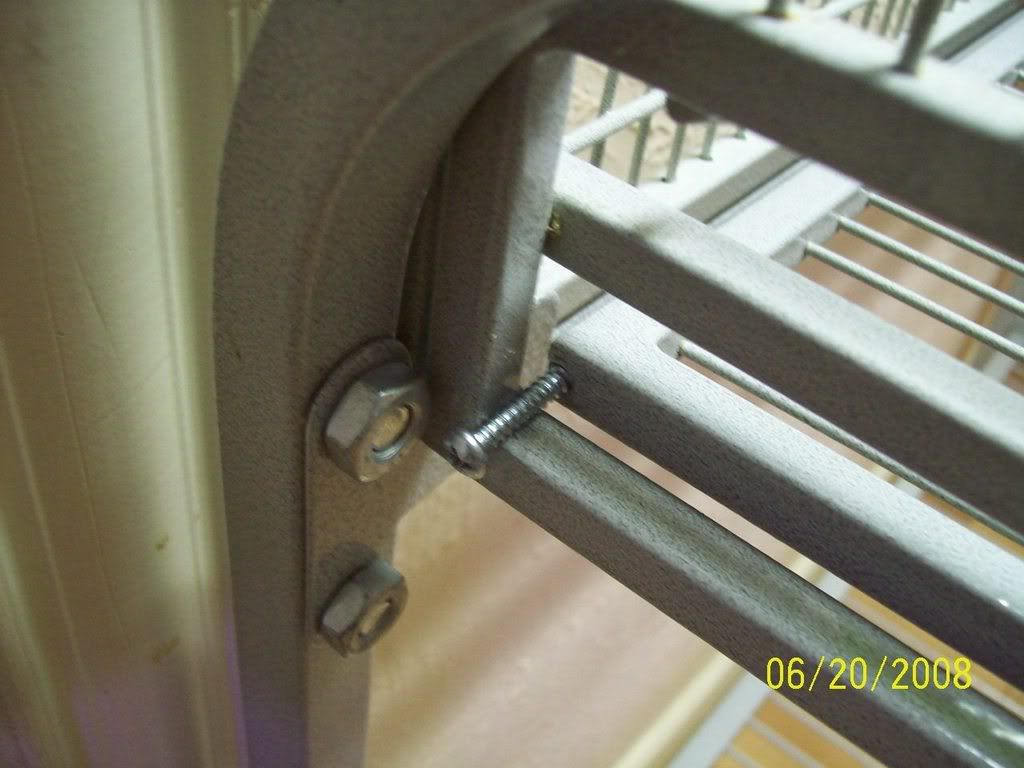
On this cage, you now have to be careful that the grate doesn’t slip out of place and fall thru to the bottom shelf. This can be corrected by installing a small 2” screw in the little hole at the back of the grate, on both sides. Now you have support for the grate. You can pull the grate out part way when you are working on the cage, using it as a shelf. However, now the grate cannot be pulled all the way out and installed back in its proper place during cleaning.
Image
Image

User avatar
Sally
Mod Extraordinaire
Mod Extraordinaire
Posts: 17929
Joined: Thu Mar 29, 2007 11:55 pm
Location: DFW, Texas

Post by Sally » Sat Jul 19, 2008 12:55 am

If you reverse the position of the grate and tray on this cage, and you use newspaper as a tray liner, the newspaper will blow around and shift out of place without the grate to keep it in position. You wind up with an uncovered area of the tray, which gets poopy and needs extra cleaning. To eliminate this, I secure the newspaper with a small piece of scotch tape in each corner of the tray. I also put a small piece of tape where the newspaper pages overlap. Voila, the tray stays cleaner.

User avatar
Sally
Mod Extraordinaire
Mod Extraordinaire
Posts: 17929
Joined: Thu Mar 29, 2007 11:55 pm
Location: DFW, Texas

Post by Sally » Sat Jul 19, 2008 12:59 am

These cages do have some gaps that concern people with the tiny waxbills. The main problem is the gap above the top door and below the bottom door. I cut plexiglass to fit, and stick it on with adhesive putty that you can get at any hobby store, Wal-Mart, Home Depot. This will hold the plexiglass in place, yet won’t be permanent. If you want it on permanently, then you can just glue it in place.
(Photo of gap, photo with plexiglass in place)

User avatar
Sally
Mod Extraordinaire
Mod Extraordinaire
Posts: 17929
Joined: Thu Mar 29, 2007 11:55 pm
Location: DFW, Texas

Post by Sally » Sat Jul 19, 2008 1:18 am

These cages do have some gaps that concern people with the tiny waxbills. The main problem is the gap above the top door and below the bottom door. I cut plexiglass to fit, and stick it on with adhesive putty that you can get at any hobby store, Wal-Mart, Home Depot. This will hold the plexiglass in place, yet won’t be permanent. If you want it on permanently, then you can just glue it in place.

Image

User avatar
Sally
Mod Extraordinaire
Mod Extraordinaire
Posts: 17929
Joined: Thu Mar 29, 2007 11:55 pm
Location: DFW, Texas

Post by Sally » Sat Jul 19, 2008 1:37 am

The birds will sling a lot of poop while flying around, hitting the wall behind the cage. I cut vinyl sheets to fit behind the cage, and attach them with the little binder clips you can get at any office supply store. You can get clear vinyl at Wal-Mart in the fabric section, or I got a 36” wide, 25’ long roll of semi-opaque vinyl in the paint section of Home Depot.

I love hang-on baths, but they don’t fit any doors on this cage. I got these baths made by Lixit—the holders screw on to the bars of the cage, so you can put them anywhere you want. One disadvantage—the birds fling water everywhere, so a dish on the floor may work just as well. For bathtubs on the floor, 6” plastic flowerpot saucers work well. The Lixit bathtubs are pricey, but if you need multiples, I found a place online with cheap shipping.
Image

The cages come with aviary divided trough feeders. I have not used mine for seed, I imagine there would be a lot of seed flung about. I use seed hoppers, which can hang on the inside of the top or bottom door, and then use the trough feeders for herb salad on one side and mineral mix on the other side.

User avatar
Sally
Mod Extraordinaire
Mod Extraordinaire
Posts: 17929
Joined: Thu Mar 29, 2007 11:55 pm
Location: DFW, Texas

Post by Sally » Sat Jul 19, 2008 1:42 am

I tried to figure out a way to add another cage to the bottom of this unit. The bottom shelf is meant to be mounted on top of the side bars. On a few of mine, I attach the shelf under the side bars, it just gives a little more room on the shelf. This way, I could actually put a 24”x16”x16” on the bottom shelf (place it there before putting the HQ cage on the stand), but it is awkward to use and a very tight fit (the big front doors on the small cage won’t raise up all the way), but I think I will leave one cage in place for an emergency cage.

Image
Image

User avatar
Sally
Mod Extraordinaire
Mod Extraordinaire
Posts: 17929
Joined: Thu Mar 29, 2007 11:55 pm
Location: DFW, Texas

Post by Sally » Sat Jul 19, 2008 1:45 am

I had never had a problem with the breeding doors before, but recently have had several birds get their legs caught. What is happening is that they slip a leg thru the gap, and then the band keeps them from pulling their leg back thru. This happened with birds that had the large soft plastic bands made from beads. I would suggest that if you aren’t using the breeding doors at all, ziptie them shut. If you use the breeding doors, you can close them tight with the little twist ties that come with bread, etc.

User avatar
Sally
Mod Extraordinaire
Mod Extraordinaire
Posts: 17929
Joined: Thu Mar 29, 2007 11:55 pm
Location: DFW, Texas

Post by Sally » Sat Jul 19, 2008 1:52 am

I love these HQ flight cages, but the bar spacing is not exactly 1/2" throughout the cage, especially on the double flight. Because of this, I would not recommend that this cage be used outside, like on an open porch. I have had two escapees--one was a young BCCB male that was not being nice to the hen I was introducing him to. Once he was separated from her, he decided she looked pretty good, and slipped out of the double flight to try to return to her. The other escapee was a juvie Goldbreast hen--I had just separated two young hens from their three brothers, and I believe she wanted back in her original cage, with her brothers. If you keep your cage inside and away from cats, it will work very well.

User avatar
dfcauley
Molting
Molting
Posts: 6892
Joined: Sun Mar 23, 2008 9:28 am
Location: Carrollton, Georgia

Post by dfcauley » Sat Jul 19, 2008 7:20 am

Sally wrote:
I love hang-on baths, but they don’t fit any doors on this cage. I got these baths made by Lixit—the holders screw on to the bars of the cage, so you can put them anywhere you want. One disadvantage—the birds fling water everywhere, so a dish on the floor may work just as well. For bathtubs on the floor, 6” plastic flowerpot saucers work well. The Lixit bathtubs are pricey, but if you need multiples, I found a place online with cheap shipping.
.

Sally what a great post. I know that will be very helpful to others. How resourceful you are!
Could you please tell me where you ordered the bird baths from? I saw those at Pet Smart for ten dollars. I would love a couple of them for my cages when I have to use a cage. Thanks
Donna

FeatherHarp

Post by FeatherHarp » Sat Jul 19, 2008 8:41 am

Sally thank you so much for taking the time to document all these tips. It is especially helpful for me since I have that same cage. These ideas are creative and simple to do! \:D/

debbyloo
Callow Courter
Callow Courter
Posts: 199
Joined: Thu Nov 02, 2006 4:10 pm

Post by debbyloo » Sat Jul 19, 2008 9:31 am

I have this double flight cage as well and have made an additional modification. I made 2 cozy secluded little upper rooms by wiring each upper doors open, and wiring a hamster cage over each opening. I purchased the "2 story" hamster cage (comes in a box with everything you need to start, for about 25 dollars from Petsmart), used just the cage itself minus the bottom plastic detachable tray, and wired the open bottom directly against the flight cage. I put paper in the bottom, cut to fit. The cage has 2 doors so it is easy to access these areas for cleaning. There is room for a couple of perches and a swing or nest basket in each room, and since I have a large fiscus tree at each end of my flight cage, these "rooms" are snuggled up into the trees and the birds feel very secluded and safe there. My little waxbills especially love hanging out in their own little quiet space. I have the white cage, and the hamster cages are white too, so they look nice together.

debbyloo
Callow Courter
Callow Courter
Posts: 199
Joined: Thu Nov 02, 2006 4:10 pm

Post by debbyloo » Sat Jul 19, 2008 9:34 am

I forgot to add that I am having problems with the white paint flaking off and rust starting on the areas where the bath water splashes onto the cage. I use those round greenish clear plastic bathing dishes like pictured above in this post. Has anyone else run into this problem? How can I repair this?

User avatar
Kiko
Persistent Pursuer
Persistent Pursuer
Posts: 291
Joined: Sun Jan 20, 2008 5:51 pm
Location: Ontario Canada

Post by Kiko » Sat Jul 19, 2008 2:06 pm

What an excellent post Sally, and I will be back to review once I get my cage. Thank you!
Lynn

User avatar
Sally
Mod Extraordinaire
Mod Extraordinaire
Posts: 17929
Joined: Thu Mar 29, 2007 11:55 pm
Location: DFW, Texas

Post by Sally » Sat Jul 19, 2008 11:57 pm

dfcauley wrote:Could you please tell me where you ordered the bird baths from? I saw those at Pet Smart for ten dollars. I would love a couple of them for my cages when I have to use a cage. Thanks
I got those Lixit baths from this site: www.petstore.com. They are $5.49 each, with shipping $6.99 for the first $30. I ordered 5 of them for my single flights, so that worked out to $6.88 each. One reason I wanted them was that with the single flight, a bath on the floor is hard to keep out of poop range, so I thought one that I could fasten to the bars would stay a lot cleaner. I was wrong. The birds sit on the edge of the tub, butts to the inside, and poop in their bathtub. It may be because I have placed it high in the cage, so I will try different positions to see if I can get them to use the floor instead of their tub for a toilet! I still prefer a hang-on bathtub, which is what I use for the double flight, but not an option with the single flight.

User avatar
Sally
Mod Extraordinaire
Mod Extraordinaire
Posts: 17929
Joined: Thu Mar 29, 2007 11:55 pm
Location: DFW, Texas

Post by Sally » Sun Jul 20, 2008 12:07 am

debbyloo wrote:I forgot to add that I am having problems with the white paint flaking off and rust starting on the areas where the bath water splashes onto the cage. I use those round greenish clear plastic bathing dishes like pictured above in this post. Has anyone else run into this problem? How can I repair this?
Ouch, that is scary. I haven't had any problem with paint flaking off any of mine, but then I haven't had them very long. The first one I got was used, and the lady used to power wash it--I noticed that every hole that the bars passed thru had a tiny bit of rust around the hole, but not enough to be a problem.

BTW, I absolutely love your idea of hanging a hamster cage off the side of the flights! I'll have to try that with my waxbills, they are so skittish that they would probably appreciate a place that was more private.

One of the reasons I did this thread is that so many of us in North America have the single or double flights. Since it is not a perfect cage (is there such a thing?), I figured I'd give my tips and others could chime in with ways they have come up with to make these cages work. My perfect cage would be about the size of the double flight, on wheels, but with 3/8" bar spacing, and with the tray and grate easily reversible. (Cage makers, are you listening?)

Post Reply